Rework in progress
We are reworking completely the menu system so this is invalid and will be changed very soon
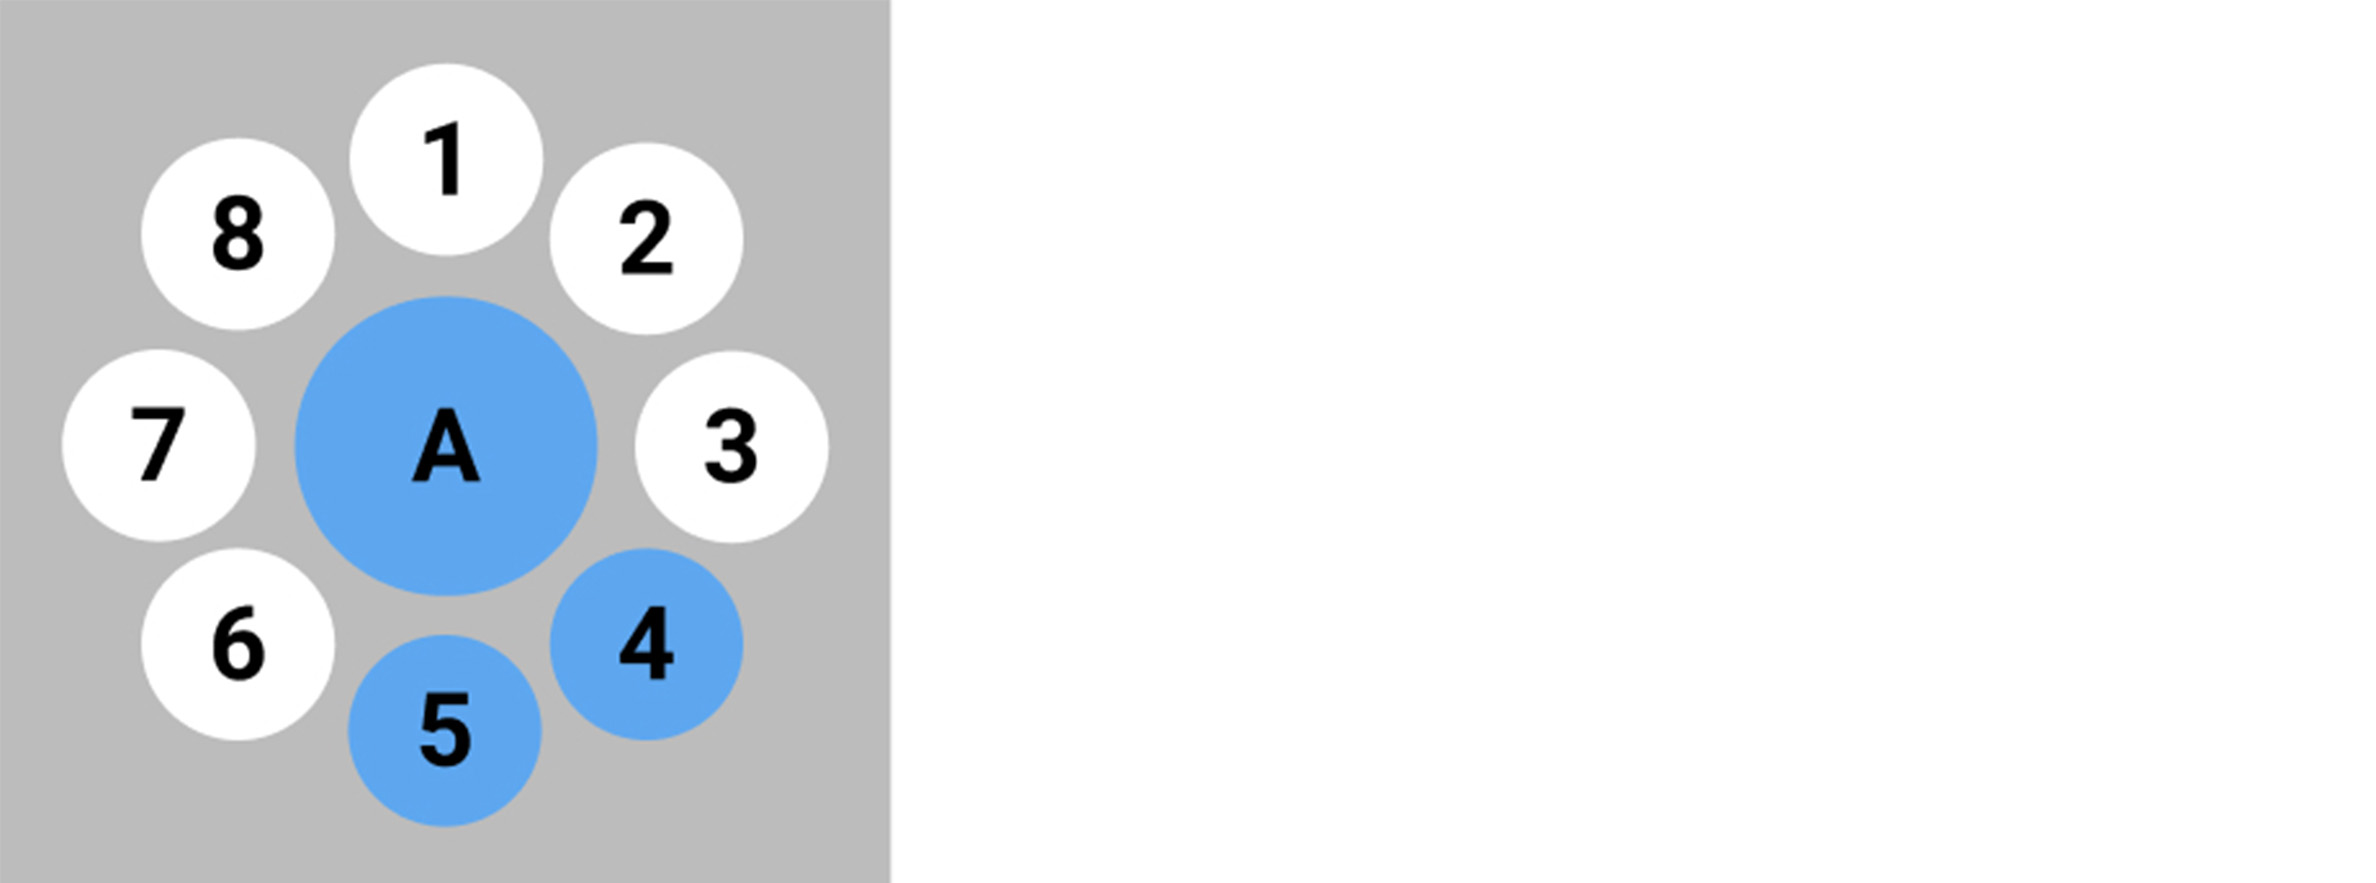
The menu of Garou is always attached to the left hand of the user and is regrouping all available actions for this level. Some actions are universal like the back button to go back in the menu or back to the main level and the tools button. To find more information about the design of it follow the Design Guidelines.
To complete your level’s integration into Garou you will need to create the menu with specific buttons that you want and specific actions related to it. Keep in mind that garou is a multiplayer application which means that all actions or behaviors that are not replicated won’t be seen by other people. To know more about this learn about the replication system in UE4 or contact us for more information.
Create the menu configuration
-
Open the Mod kit and go to your plugin’s content folder and create a Blueprints folder if it isn’t already created
-
Right click and select Blueprint Class, then select the class MenuConfiguration.
-
Name the new asset with this convention: MC_YourLevelNameConfigName
Configure your menu visuals
-
Open this asset. You will find in the Class Default all the settings for the visuals of the menu.
-
Each button variable has a location on the menu, and 3 icons depending on the state of the button. You need to set those 3 Icons for each button, leave it blank if you don’t want to use it. Again look at the design guidelines to know more about the layout we prefer to have in the Platform so you can follow the same path.
Warning
Display Text should only be used for testing as it is not really made for production yet (meaning not beautiful).
Set the actions
-
In the Event graph of the menu configuration you can set in blueprints what the buttons should do.
-
The event On Clicked is fired every time a button from this configuration is clicked. You can add a switch on the Button Variable of this event and create the behavior your desire for those buttons.
A list of available actions exist under the category Garou Menu Actions but you can build your own behavior.
Once everything is set correctly you can put the main menu you want the users to begin with in your level in the World Settings under the Category: Garou World Settings / Base Menu
Warnings
Warnings
Here are some things that are necessary to have on the menu:
On the Base menu : A button to go back to another level that you could access this one from (Example: From the Oculus level you can go back to New York City) or to the Garou Lobby if it is only available from there (Generally this button goes in the center). If you don’t do that people will get stuck in your level forever.
On the Base menu : The info panel button to spawn the info panel in your level.
On any Sub levels : A back button to go back to the previous menu configuration with the function :

Test your menu
-
To test your menu make sure that you have set the base menu in the Base Menu variable in the Garou World Settings.
-
Play in the editor in VR and use the right hand to touch buttons on the menu.
OR
- Play in Editor in Non VR mode and use the buttons 1 to 9 of your keyboard to simulate a click on the corresponding button following this layout:


