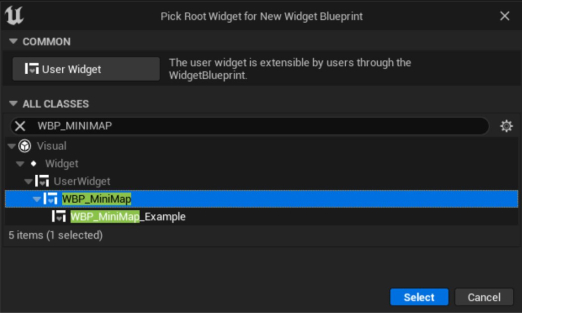
- Create a User Widget as the subclass of WBP_MiniMap
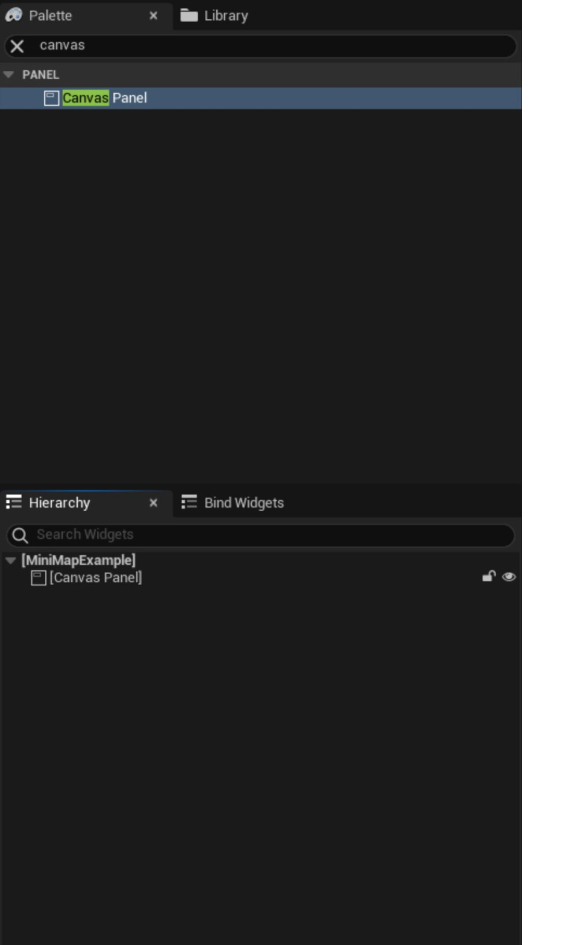
- Create a Canvas Panel and make it the root of your widget.
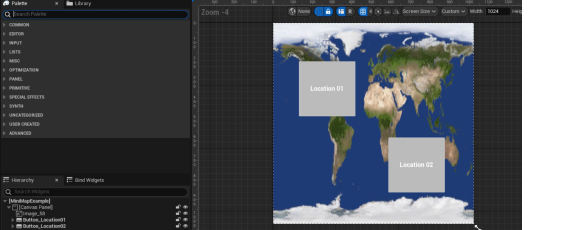
- Add any images, shapes, or text in the places you want to. Put buttons at the places you want to interact with.
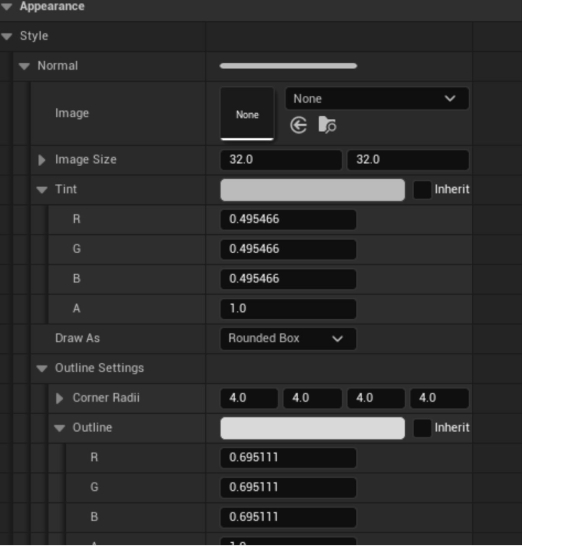
- Set the style of the buttons in the Appearance section in Details panel.
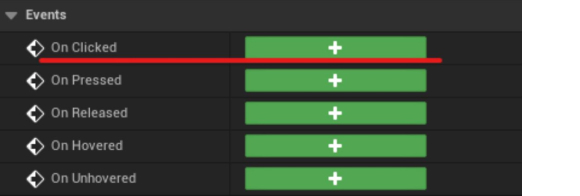
- Add On Clicked event to the button.
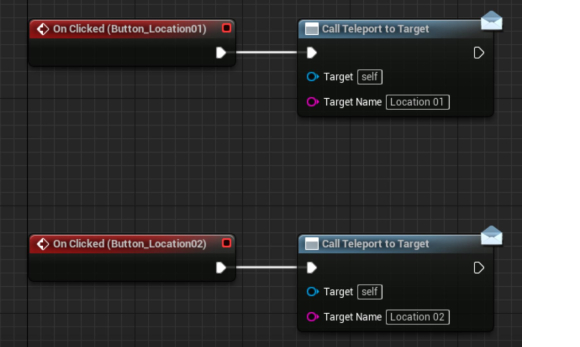
- Right click in the Graph and search for the ‘Call Teleport to Target’, connect it to the On Clicked event. The ‘Target Name’ should be a unique name for each of the buttons.
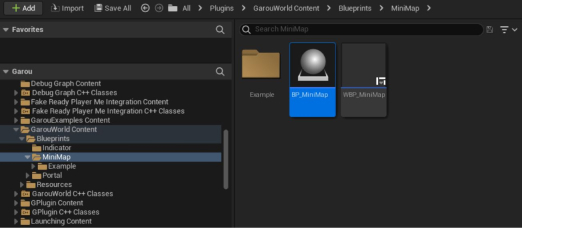
- Find the ‘BP_MiniMap’ in Plugins/GarouWorldContent/Blueprints/Minimap, add it in your level.
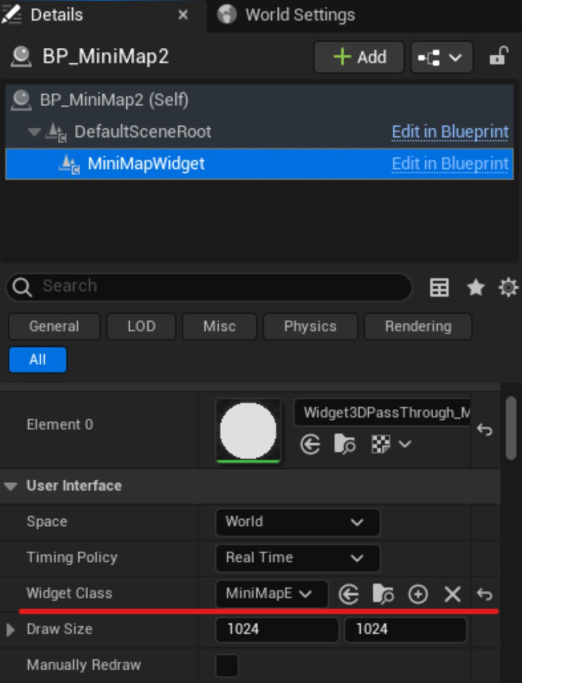
- In the Details Panel. Select MiniMapWidget, change the widget class to the one you just created.
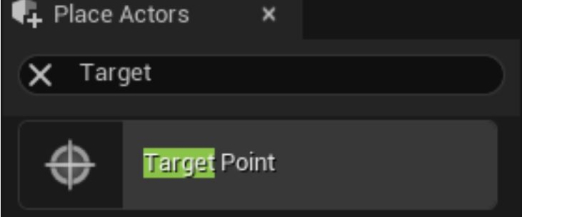
- Place Target Points in your level, where your want the player to teleport to.
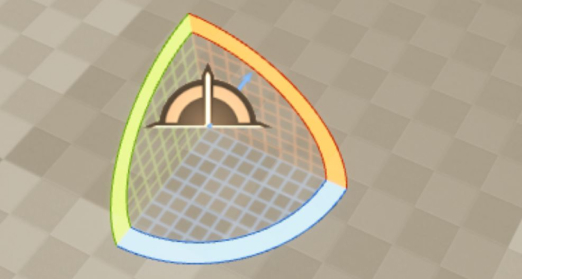
- The blue arrow represents the direction players will face after the teleportation. Rotate the Target Point if you want to change that.
- Select the BP_MiniMap you placed in the world. In Details/Teleport section, click the + button to add more Target Points.
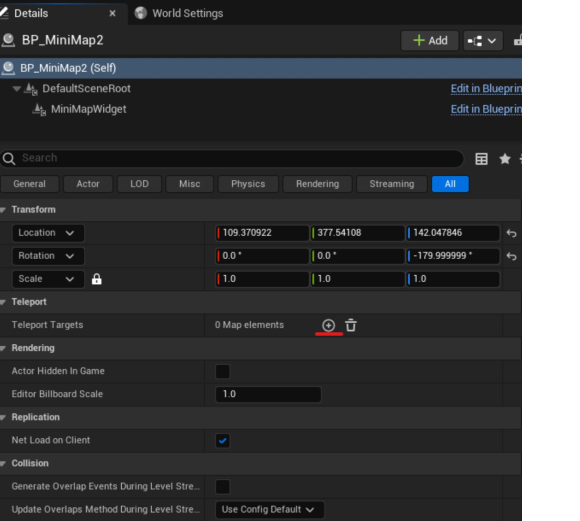
- The name should correspond to the name you used in the minimap widget. Choose the corresponding Target Points you created in the second column.

