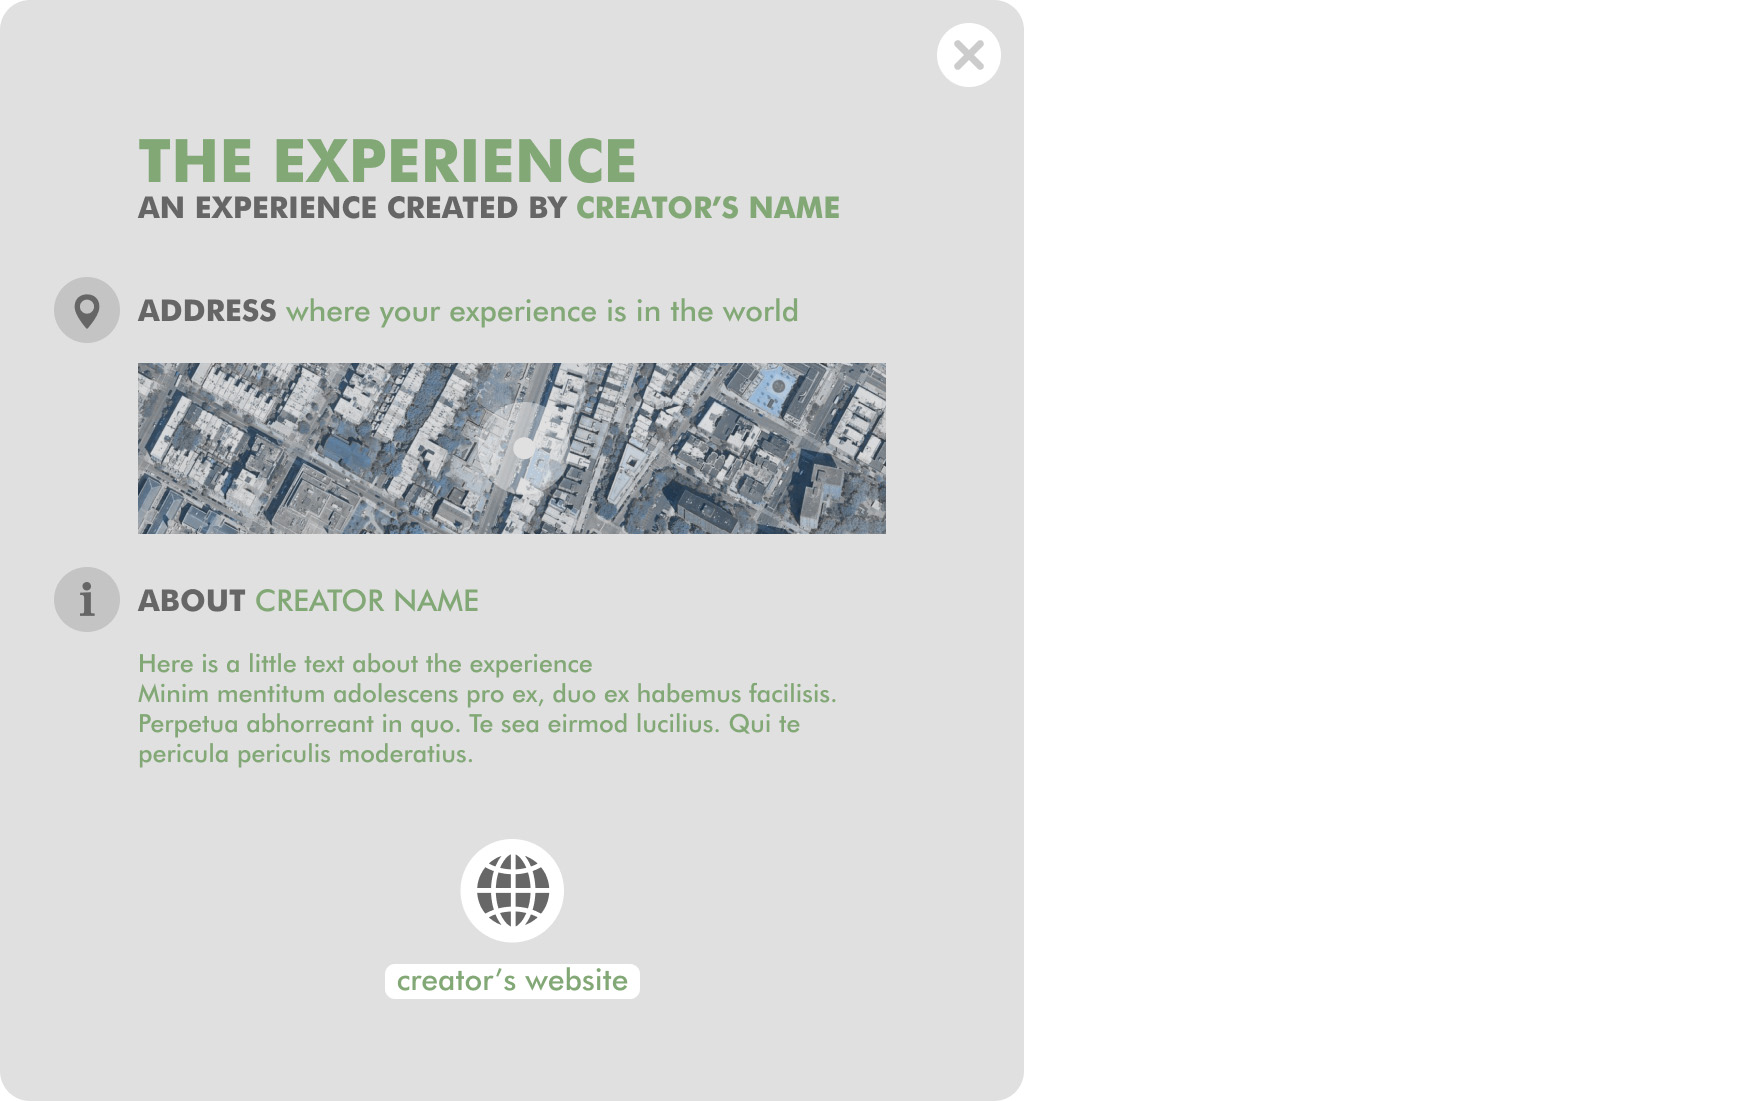
Steps to follow to personalize your info panel
- Go in your plugin’s content folder and create a Blueprints folder if it isn’t already created.
- Right click and select Blueprint Class
- As a parent class you need to pick the class: InfoPanelConfiguration
- Name it using this convention: BP_YourProjectInfoPanel
- Open the newly created blueprint and go in the Class Defaults section. Now under InfoPanel | Details you will find 10 entries that you need to fill out. Look at the example below to know which line corresponds to which part.
Note: That last part is not available for the moment and will be again soon.
- When you finish configuring the blueprint you will need to set it in the World Settings of your Map. Here is a closer look at where to find this window. In the upper section you will find the InfoPanelConfiguration, please put the configuration you just created here.

